Salesforce CRM Data Source Prioritization
Have the Rapid Writer instantly incorporate Salesforce data in your emails to make them more personalized and relevant.

Jennifer Rice
Last Update vor 2 Jahren
The Rapid Writer is able to use information from specific data sources and generate hyper personalized messages to your prospects in seconds.
With a connected Salesforce CRM, you can use the data from your Accounts and Contact Objects to create even more personalized and relevant emails.
This article will show how you can add and prioritize these specific Salesforce CRM Data points for the Rapid Writer to leverage for personalization. Additionally your Data Source Prioritization List determines the preferred order that generated message drafts using this Salesforce data will appear when using the Rapid Writer in the Chrome Extension.
Based on your Personalization Settings, Rapid Writer Data Prioritization can be established for the following message types and their associated email or message prompts:
- Email Body and Subject Line
- Intro Lines
- LinkedIn Messages
See how to establish and prioritize your Salesforce CRM Data as an instant personalization source for the Rapid Writer below.
Note: Salesforce Integration must be enabled to access this personalization feature. Please see the following article for instructions on Connecting your Salesforce CRM to Regie.
How to Prioritize your Salesforce CRM Data Sources for Message Personalization
1. In your Regie Platform from the left-side navigation bar, select to expand your Brand Kit and then select Prompts.

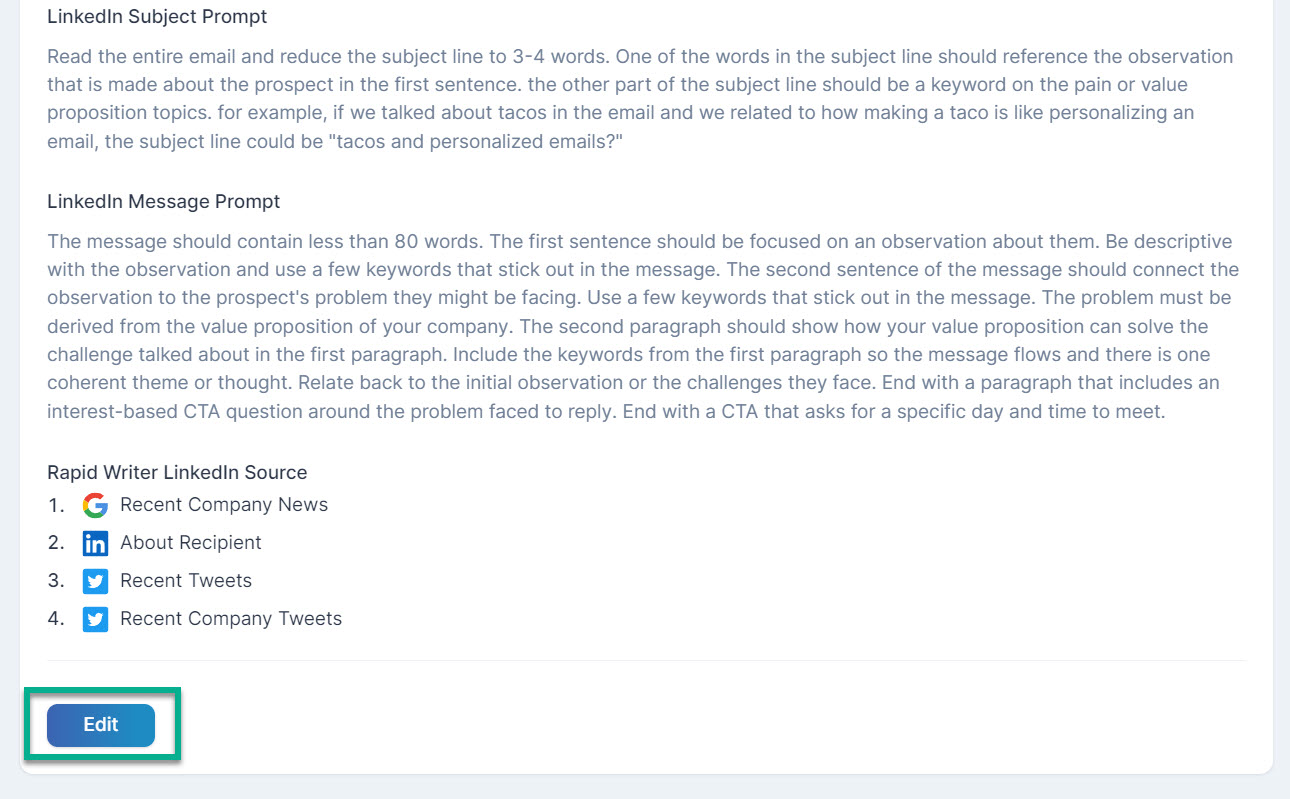
2. On this Prompts page is where you'll see previews of all your current Default Rapid Writer Personalization Prompts and Rapid Writer Data Source Prioritization for each message type.

3. Scroll to the bottom of this page and select the Edit button.
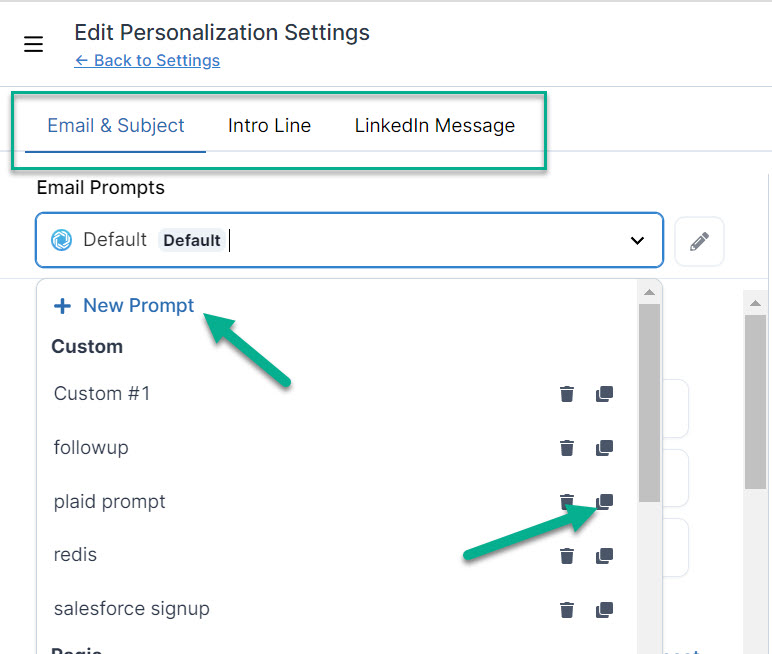
4. From your Personalization Settings Regie recommends taking either of the following actions for your Rapid Writer Email & Subject, Intro Line, or LinkedIn Message prompts that you will add CRM Data personalization to:
- Update an existing Email prompt from the prompt library to include the CRM Data Source(s)
- Clone an existing Email prompt and edit it to include the CRM Data Source(s)
- Create a brand New Custom prompt to include CRM Data Source
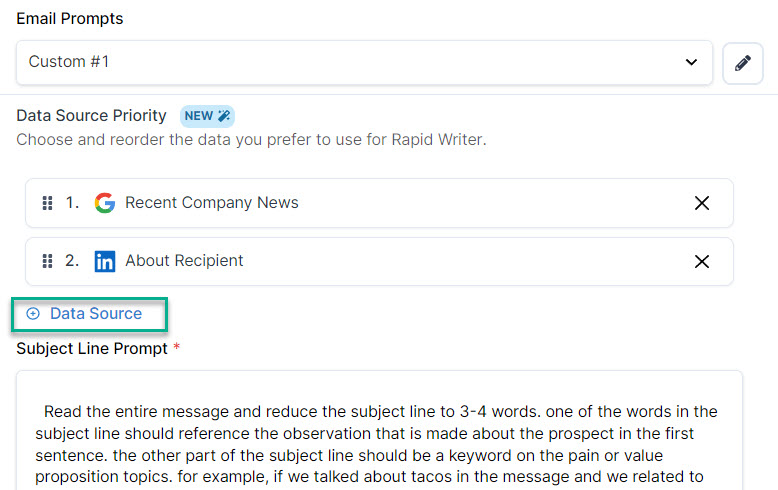
5. Next, add your CRM Data Source to the Data Source Priority List. Do this by selecting +Data Source.
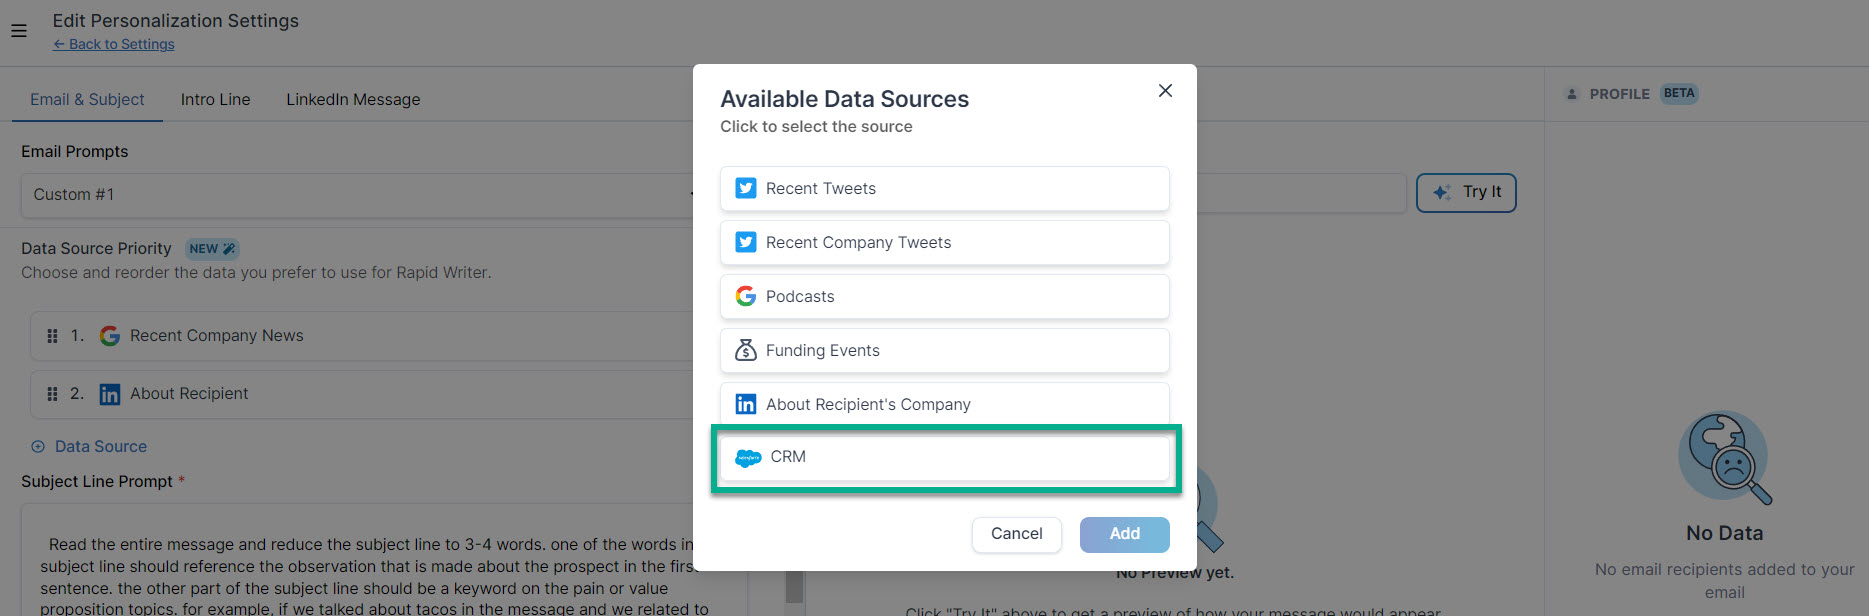
6. Select CRM from the Available Data Sources list.
7. Select +Field to add in your desired Salesforce Object from the Account or Contact and it's associated Field Value.

8. Using the drop down menu, add your Salesforce Object (Account or Contact) and it's Value into the CRM Data Source.

Note about available CRM Data: All of your Salesforce CRM Account and Contact Details will be available in the drop down menus, even if there are fields on these objects that are custom or being pushed into your Salesforce CRM from 3rd party integration.
If you are searching for fields related to the contact or account these will not be automatically included in the list but can be pushed in by using Roll Up Summary or FlowBuilder.
Please connect with your Salesforce Administrator for additional assistance with this.
9. Adjust the priority of the added CRM Data source on the list by dragging it to it's desired location using the 6 dots.
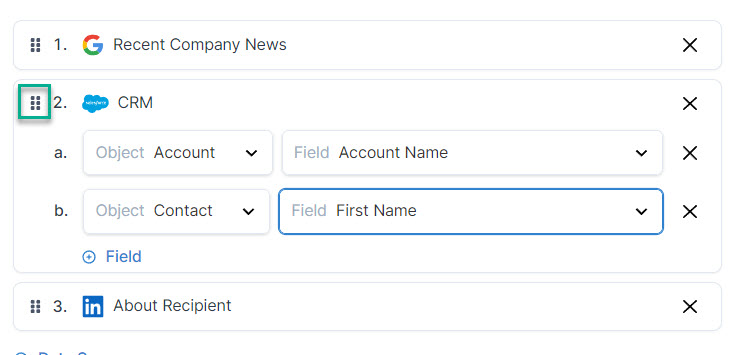
Note: When constructing your data source priority list, ensure that you provide at least three individual data sources for the AI to select from.
Remember, this data source list also determines the preferred order that message drafts will appear when using the Rapid Writer. The Rapid Writer will always generate three individual email recommendations based on the data sources list, and integrate just one data source per message draft each time it runs.
10. With your Data Source priority list in place, be sure to adjust or craft your Rapid Writer Prompt that will be using the CRM Data. You have the option to make this prompt the Default selection for your Rapid Writer or simply remain an option to choose from in your Personalization Prompt Library.
Prompt Engineering Tip: The new prompt should incorporate the name of the Salesforce Field and it's Field Value along with explicit instructions on how to talk about the data. Last, instruct the AI to reference your Value Proposition including the call to action.
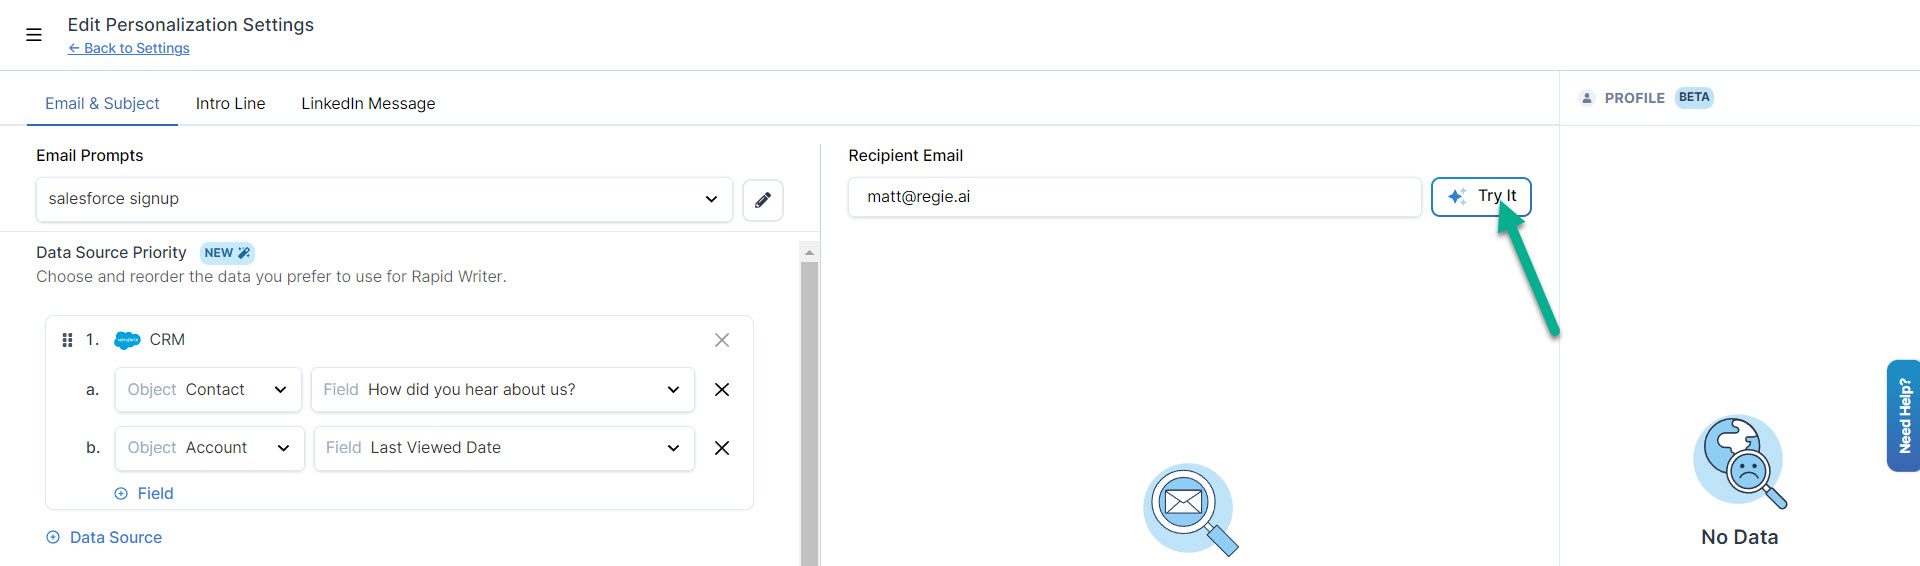
11. Preview the prompt and how the CRM Data Sources are incorporated by using the Try It button found in the center of the page. Make any adjustments as you see fit to the prompt and data sources selected.
12. Press save at the bottom of the page when finished to save your changes!
That's it! The CRM Data Sources and their level of priority can now be leveraged by the Rapid Writer on the Chrome Extension.
See how easy it is for a user to leverage the Rapid Writer with CRM Data as the established priority for message personalization.