Uploading Internal Files and Marketing Collateral into Your Regie Collateral

Dindo Fernandez
Last Update 2 года назад
Collateral such as eBooks, Brochures, Case Studies, White Papers, Video Links, Landing Pages, or any kind of document or media that helps support your sales cycle or customer journey should be uploaded to your Collateral in Regie.
In this article, we'll show you how easy it is to store those files in Regie so that they can be easily shared across the platform and tracked.
Note: Uploaded Files cannot be used as inputs to build campaigns.
For custom content you plan to use during the campaign build process or AI powered personalization, please do so by adding the content in Regie via Start from Scratch or by using the AI Toolkit's relevant modules to brainstorm new ideas.
Getting Started with Adding Files & Collateral
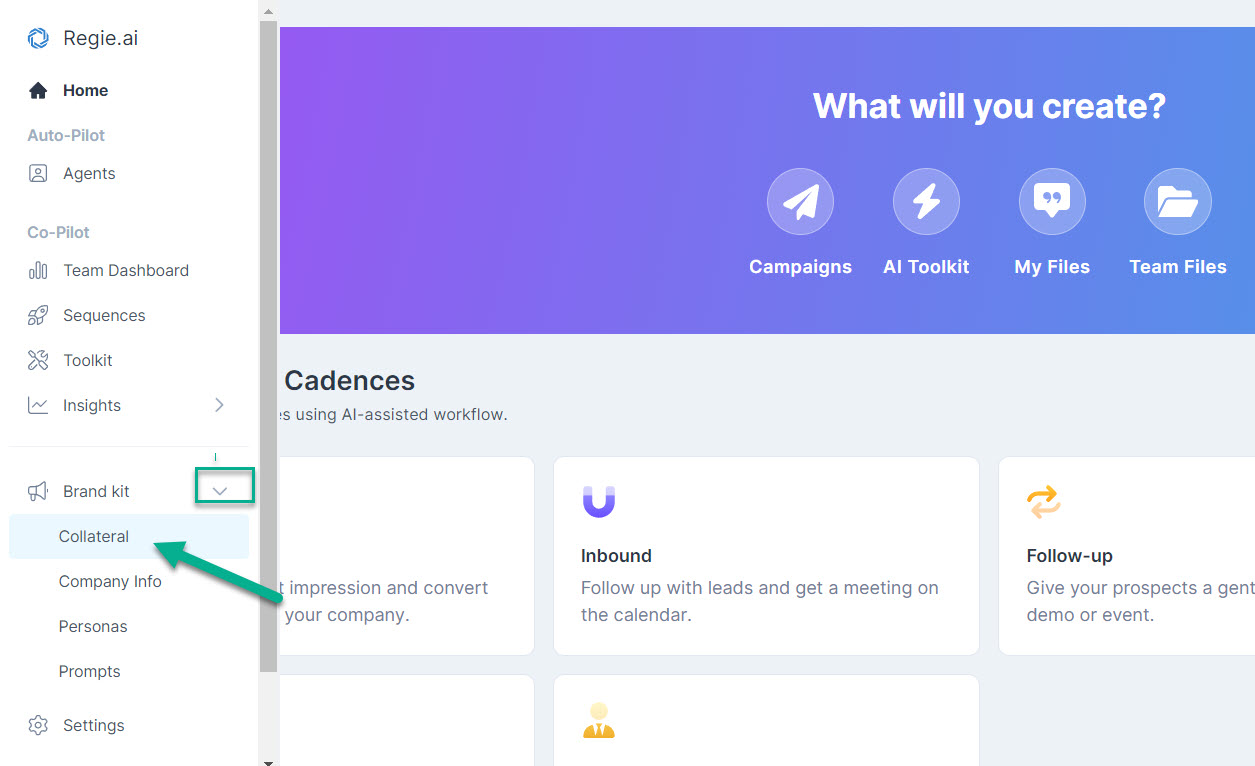
1. From the left-side navigation panel in the Regie Platform, select expand your Brand Kit and then click on Collateral.
2. You'll be automatically brought to your Collateral Library. On the upper left side of the page, first, select where in the Library you would like to add the new file(s):
- My Files - Content stored here is Private to you by default
or
- Team Files - Content stored here is accessible across the Regie platform. Regie also provides several Folders already pre-loaded for you to get you started! (We recommend adding content to Team Files for public use)
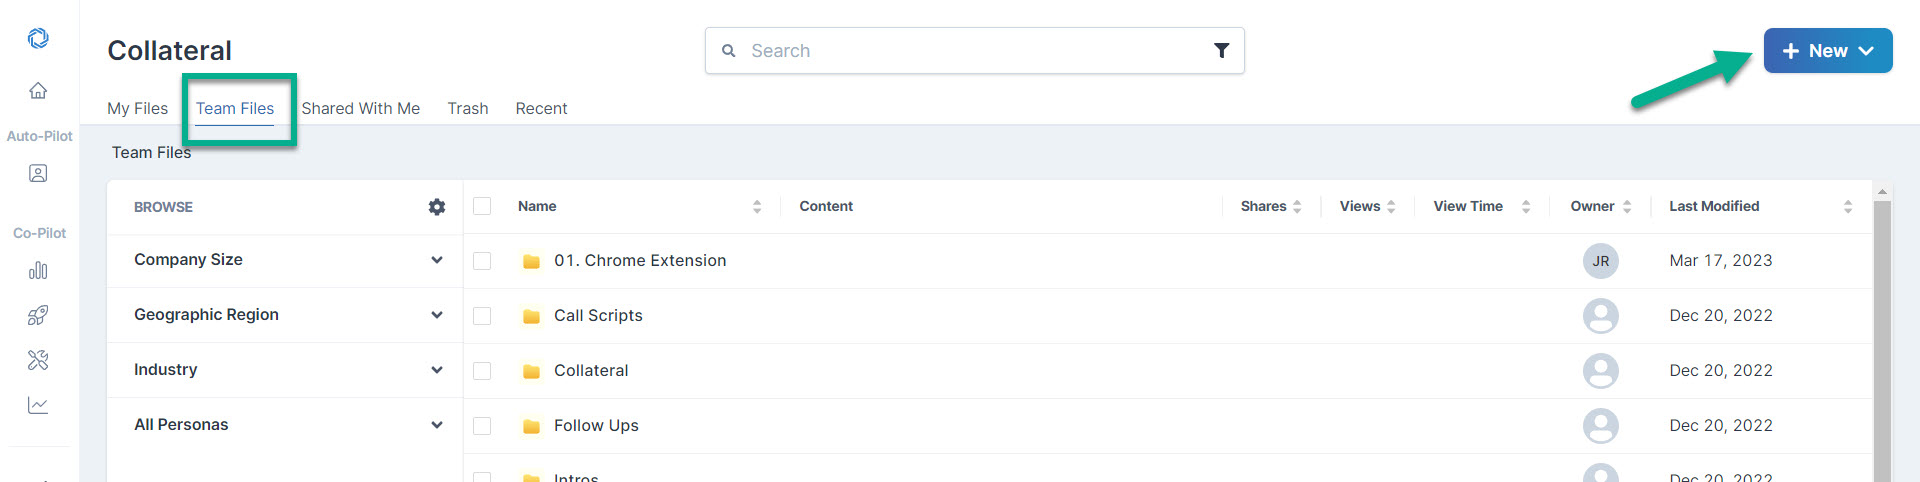
3. Once you've selected the location and decided where you wish to nest your content, select "+New" in the upper right of the page
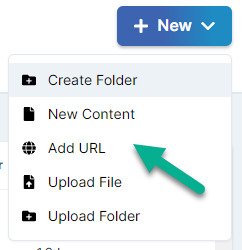
Selecting the "+New" button displays a drop-down menu of asset types to add, or upload, to your Library.
These include:
- Creating a New Folder in Regie
- Adding New Regie Generated Content directly to your Library to use as Regie Workflow Inputs (Shortcuts to popular Regie content creation features like Blog Post Workflow, Start from Scratch, and AI Toolkit)
- Add URL (link to a website)
- Upload File
- Upload Folder
Uploading a File to the Content Library
1. Select the Upload File option.
2. The "New File" window will immediately appear.
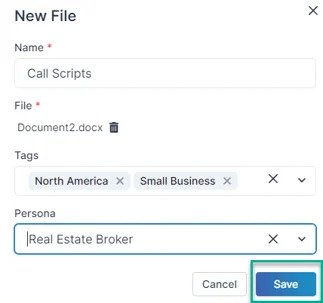
From there you will be required to Name the File and Select or Drag and Drop the file that is currently stored on your computer.
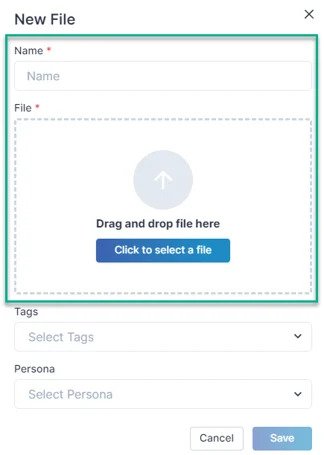
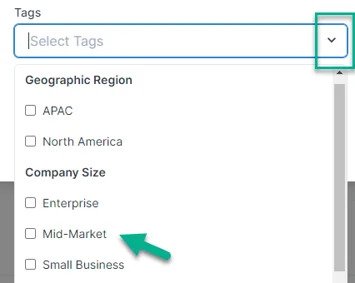
Here, you also have the opportunity to select any Tags or Personas to affix to the document, which aids in Content Library Organization and makes finding the document a breeze.
3. Press Save when finished which uploads the file!
4. Once successfully uploaded, you will see the File listed in your Content Library.

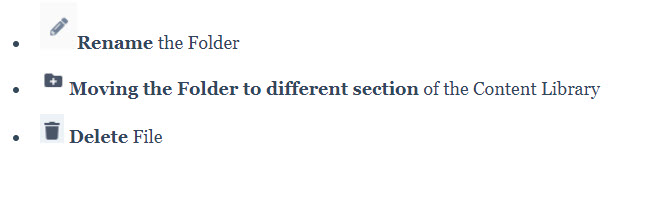
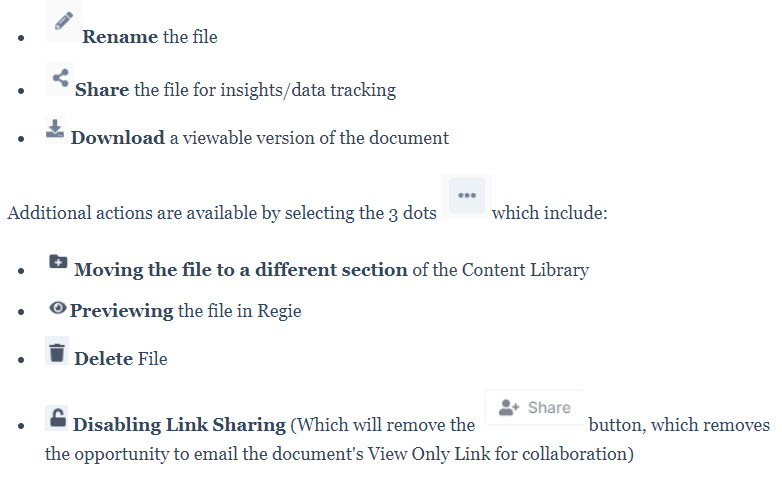
Hovering your mouse anywhere over the file will reveal the options to take the following actions:
Uploading a Folder
1. After clicking the "+new" button on the upper right side of the appropriate Content Library, select the Upload File option from the drop-down menu.
2. This will automatically open your Computer's File Library "Folder"
3. On your computer, simply locate and select the File Folder you want to upload to Regie.
Regie will then instantly add the selected Folder and all of its content to the Content Library.
4. Once successfully uploaded, you will see the Folder listed in your Content Library.

Hovering your mouse anywhere over the Folder will reveal the options to take the following actions: